Are you ready to tackle those unexpected car battery failures with confidence? Owning a jump starter is like having a trusty sidekick ready to spring into action when your car battery decides to take a break.
But how do you ensure your jump starter is always ready to save the day? The answer lies in testing it regularly, and we’re here to guide you through the process. We’ll show you how to test your jump starter effectively, ensuring it’s in top-notch condition whenever you need it.
Don’t let a dead battery catch you off guard—let’s dive into the simple steps that will keep your jump starter reliable and you stress-free.
Choosing The Right Jump Starter
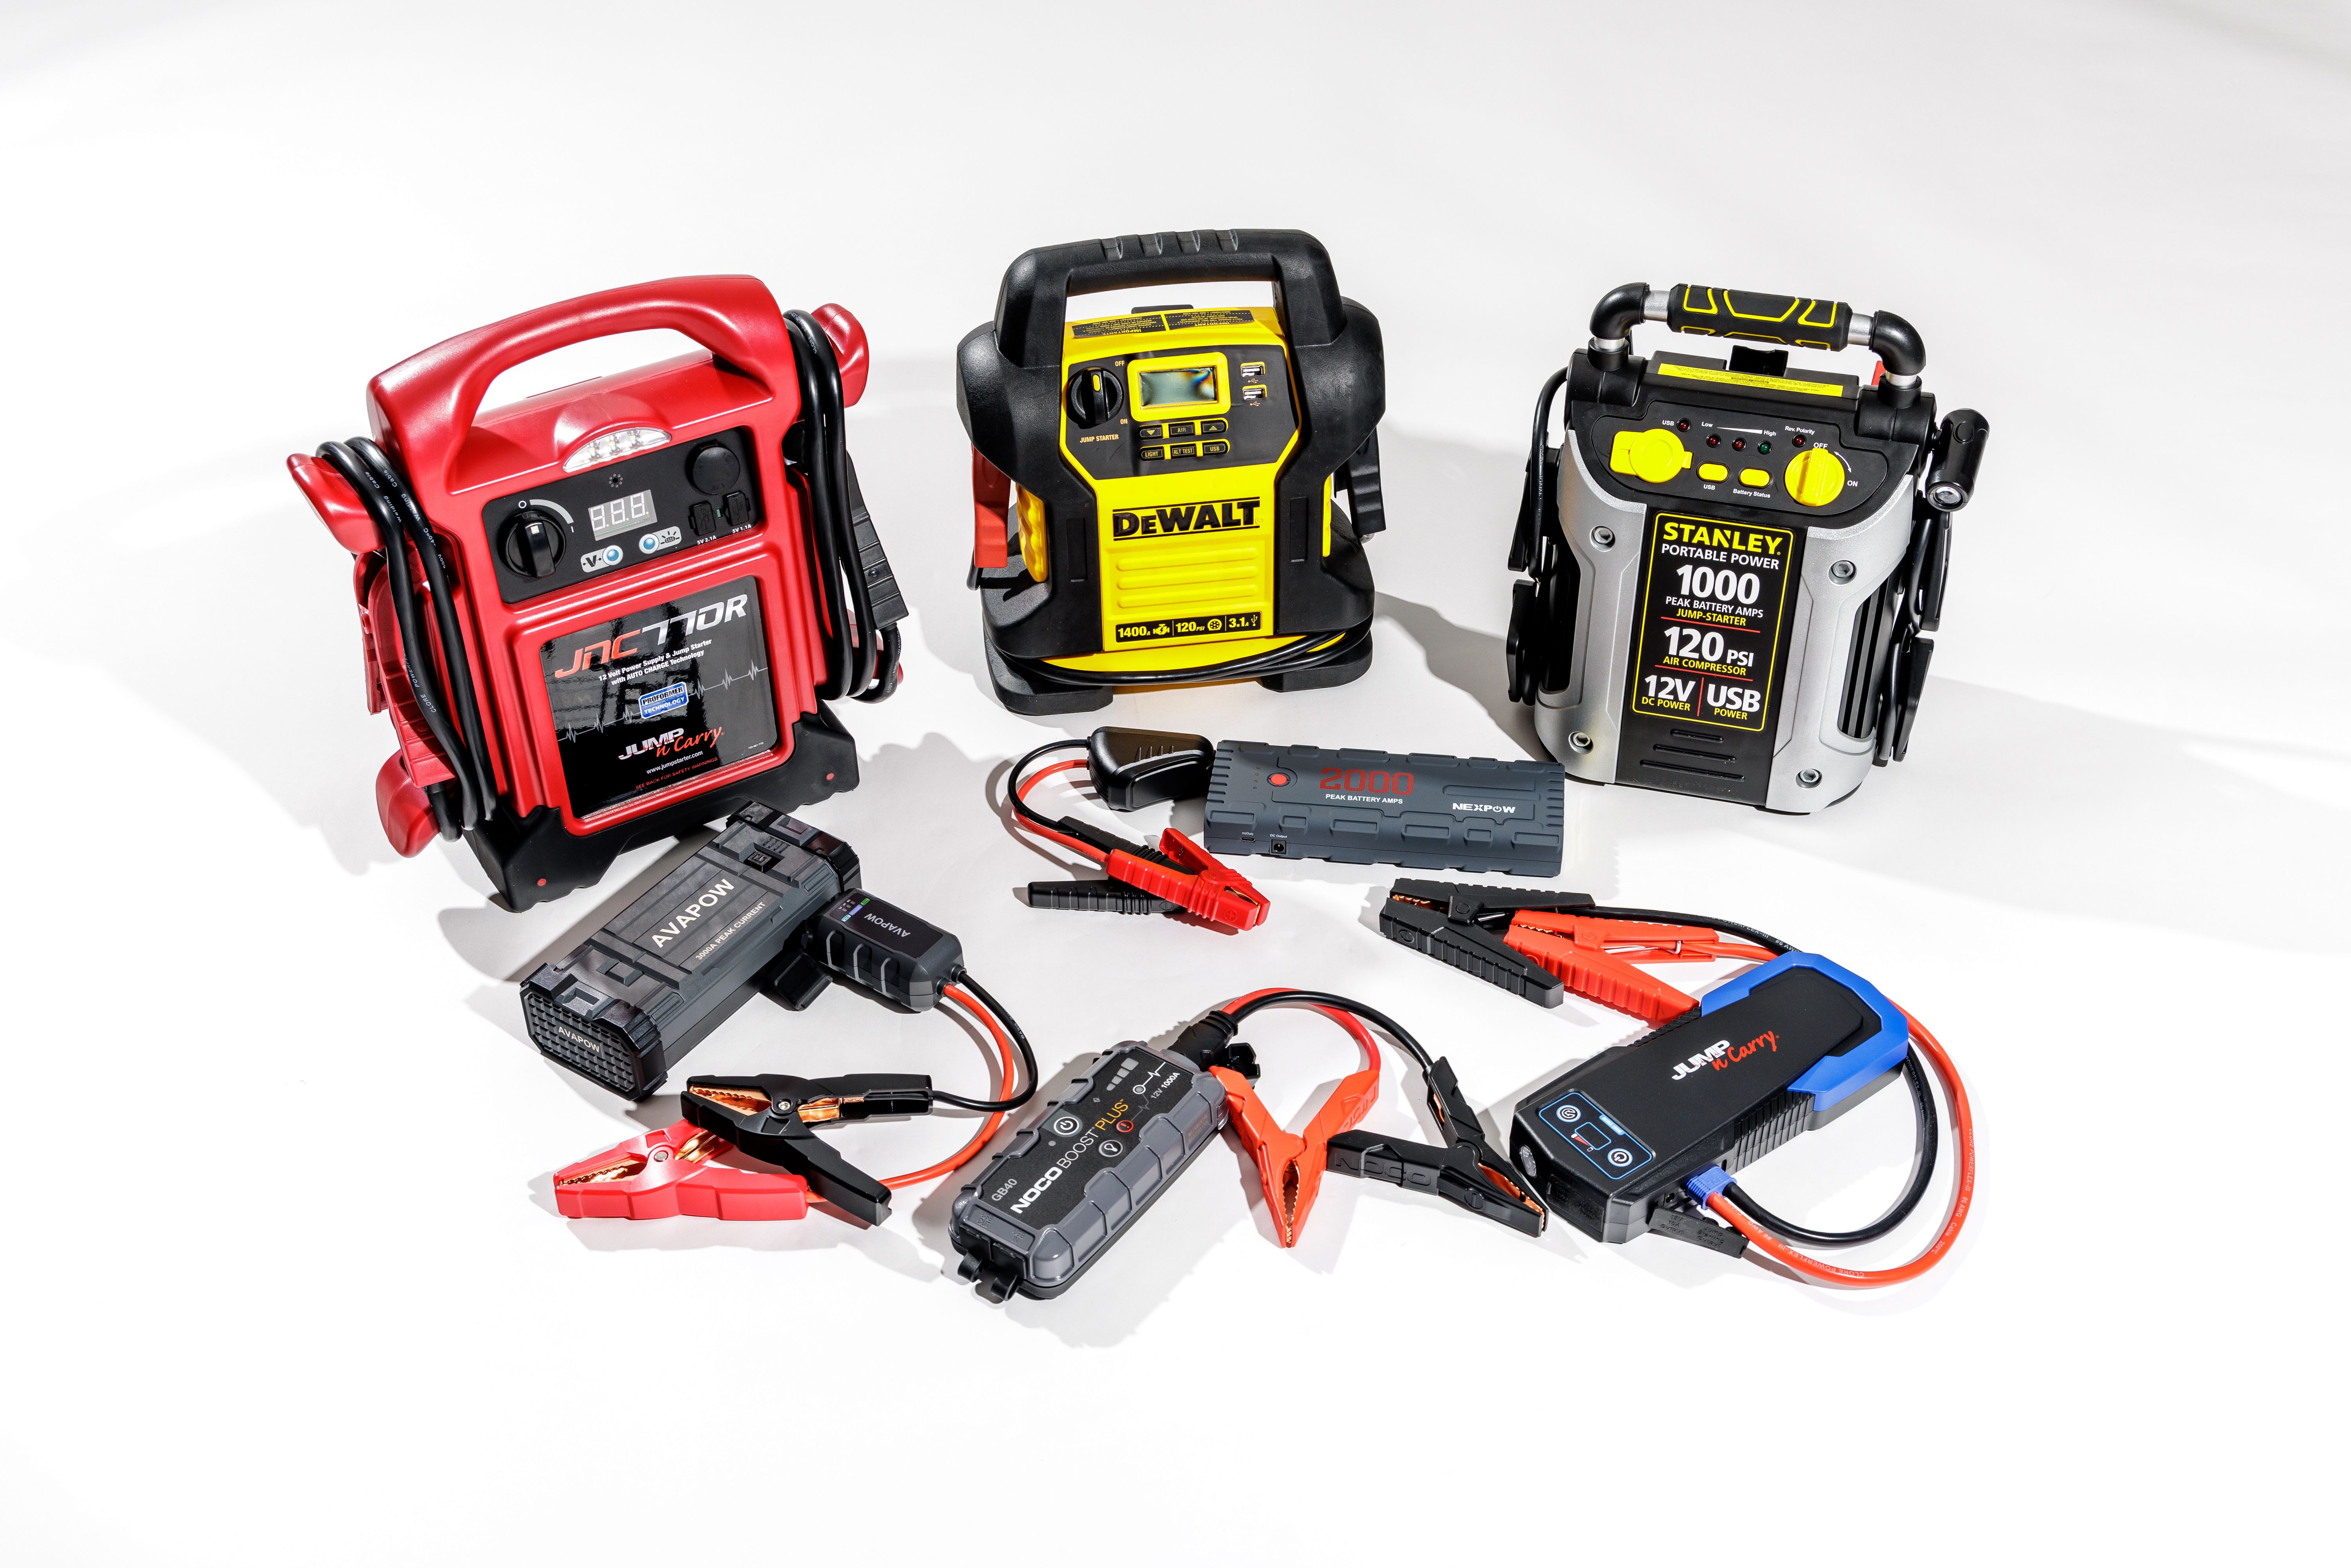
Jump starters come in different types. Portable jump starters are easy to carry. They fit in your car trunk. Heavy-duty jump starters are bigger. They are used for larger vehicles. Mini jump starters are small. They are for motorcycles and small cars. Battery jump starters need charging. Ultra-capacitor jump starters use stored energy. Each type has its own use.
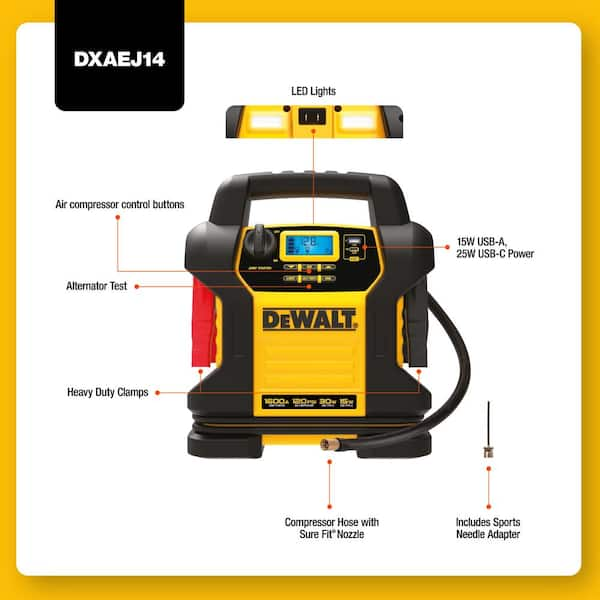
Power output is very important. It tells you how strong the jump starter is. Battery capacity shows how long it lasts. Safety features protect you and your car. Size and weight matter. You want a jump starter that is easy to carry. Ease of use is key. You need simple controls. Additional features like lights can be helpful.

Credit: www.caranddriver.com
Preparing For The Test
Safety is crucial when testing a jump starter. Always wear safety gloves and goggles to protect yourself. Ensure the area is well-ventilated. Keep children and pets away from the testing site. Avoid open flames and smoking nearby. Make sure the jump starter is off before connecting it. Check all cables for damage. Inspect the battery terminals for corrosion. Stay alert and cautious. Safety first, always.
Gather all needed tools before testing. You will need a multimeter to check voltage. Ensure you have insulated pliers for safety. A clean cloth is needed to wipe terminals. Safety gloves and goggles are a must. Have a flashlight if testing in a dim area. Check that your jump starter is fully charged. Organization is key, keep tools within reach.
Initial Inspection
Start with a careful look at the jump starter. Check for cracks or damages. The cables should be intact. No wires should be sticking out. Look at the clamps. They should not be rusty. Make sure the buttons work. Press them gently. Ensure the lights are not broken. A clean jump starter works well. It should be free from dust.
Battery health is very important. Use a voltmeter to check it. The reading should be above 12 volts. This means the battery is good. Low voltage means it’s weak. Charge it if low. Do not use a bad battery. It may not work. Keep the battery clean. Dirt can cause problems. Always store it in a cool place.

Credit: www.youtube.com
Performance Testing
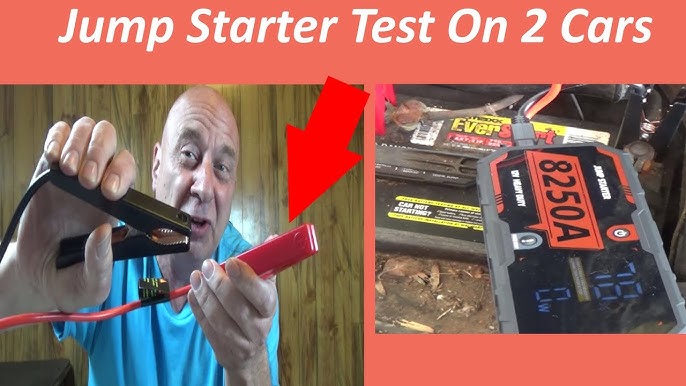
Cold Cranking Amps (CCA) tell how strong a jump starter is. Higher CCA means better performance in cold weather. Use a multimeter to measure the starter’s CCA. Attach the multimeter to the jump starter. Compare the reading to the manufacturer’s specifications. Check if the reading is close to the stated CCA. This ensures the starter works well in cold. Test multiple times for accuracy.
Check the voltage output of the jump starter. Voltage shows if the starter can power a car. Use a multimeter for the check. Connect the multimeter to the jump starter. Read the voltage on the screen. Compare it to the manufacturer’s voltage rating. Ensure the voltage is stable and correct. Repeat the test to confirm results. Good voltage means the starter can jump-start a car effectively.
Load Test
Simulating real-world conditionshelps test a jump starter’s power. Connect the jump starter to a battery. Use one that is similar to a car battery. This setup helps check if the jump starter can start a vehicle. The jump starter must deliver the right amount of power. It should not fail during this test. If it struggles, it may not work in emergencies.
Monitoring jump starter responseis also key. Observe how the jump starter reacts. Does it start the battery quickly? Does it overheat or make noises? If it does, there might be issues. Keep an eye on the battery’s charge level too. It should remain stable during the test. If it drops fast, the jump starter may be weak.

Credit: www.homedepot.com
Recharging And Maintenance
Use the correct charger for your jump starter. Always check the voltage. Plug the charger into a wall outlet. Connect the charger to the jump starter. Ensure all connections are secure. Charge until the indicator shows full. Never overcharge the battery. It can damage the jump starter.
Keep your jump starter clean. Dirt can affect performance. Check the cables for any damage. Replace if needed. Store the jump starter in a dry place. Moisture can harm the battery. Test it monthly. This ensures it works when needed. Always follow the manufacturer’s instructions.
Troubleshooting Common Issues
Testing a jump starter involves checking its charge level and power output. Ensure the device is fully charged before use. Connect the cables to a vehicle battery correctly and observe if the engine starts. If issues persist, consult the user manual or seek professional help.
Identifying Problems
Jump starters can sometimes fail. Check the battery first. Low charge means no power. Inspect the cables. Broken cables stop current flow. Look at the connections. Loose connections cause failure. Check the starter buttons. Faulty buttons may not activate. Examine the display screen. Error messages indicate issues.
Solutions For Common Failures
Charge the jump starter if the battery is low. Tighten any loose connections. Replace broken cables with new ones. Clean dirty terminal ends. Use a cloth for cleaning. Ensure the starter buttons work. If stuck, press gently. Update the jump starter firmware if needed. Follow the user guide for steps.
Frequently Asked Questions
How Do I Know If My Portable Jump Starter Is Bad?
Check for slow charging times or inability to hold charge. Inspect for physical damage or unusual noises. Verify output voltage using a multimeter. If lights or indicators don’t work, it may be faulty. Consistent failure to jump-start vehicles signals a bad jump starter.
How Do You Test A Jump Starter With A Multimeter?
Set the multimeter to DC voltage. Connect the red probe to the positive terminal and the black to the negative. Check the reading; a fully charged jump starter should show 12 to 13 volts. If lower, recharge the jump starter.
How To Test If A Starter Is Bad?
To test a bad starter, listen for a clicking sound when turning the key. Check if the engine cranks slowly or not at all. Inspect battery connections and ensure they’re clean and tight. Use a multimeter to check starter voltage.
Consult a mechanic if issues persist.
How To Test A Starter With Jumper Cables At Home?
First, disconnect the car battery’s negative cable. Connect one jumper cable to the starter’s positive terminal. Attach the other end to the battery’s positive terminal. Ground the starter by connecting the second cable to its housing and the battery’s negative terminal.
Test by turning the ignition key.
Conclusion
Testing a jump starter is simple and crucial. Start by checking the battery charge. Ensure all cables are intact and clean. Connect the jump starter to your car’s battery. Listen for any unusual sounds. Watch for indicator lights on the device.
Test the jump starter in a safe environment. Regular testing ensures reliable performance during emergencies. Remember, maintenance extends your jump starter’s life. Keep your device ready for unexpected car troubles. Stay prepared and ensure peace of mind on the road.
A well-tested jump starter can be a lifesaver.
Hi I am Tamim Hasan, I am a normal person. I like to help people so I want to help you through the blog website. If anyone is benefiting through this blog website then you can help me by sharing comments.


