Are you tired of tripping over cables or dealing with a cluttered workspace? Mounting your battery charger on the wall could be the solution you need.
Imagine a tidy, efficient space where your charger is always accessible and never in the way. This simple upgrade can transform your area, making it more organized and freeing up valuable surface space. Plus, a wall-mounted charger keeps everything within easy reach, so you can focus on what really matters—whether that’s getting back to work quickly or ensuring your devices are always ready to go.
Stay with us, and you’ll discover just how straightforward it is to mount your battery charger on the wall, bringing both convenience and order to your life.

Credit: 48toolsstore.com
Tools And Materials Needed
You need a drill with a screwdriver bit. It helps make holes in the wall. Screws hold the charger securely. Use a level to ensure the charger is straight. Wall anchors are necessary for heavy chargers. Tape measure helps find the right spot. A pencil marks the drilling spots on the wall. You might need a stud finder. It locates strong spots in the wall. Use safety glasses to protect eyes while drilling. Gloves keep hands safe. A battery charger is the main item. Check its weight before starting.

Credit: 48toolsstore.com
Choosing The Right Location
Pick a dry place for the battery charger. The spot should be easy to reach. A stable surface is key. Make sure there is enough space around it. Avoid areas with high traffic. Keep it away from flammable items. Nearby outlets make it easier to connect. Wall height matters for safety. Eye level is often a good choice. Check for studs for a strong mount. Avoid direct sunlight to prevent overheating.
Preparing The Wall Surface
First, remove any dust or dirt from the wall. Use a damp cloth to wipe the surface. Make sure the wall is dry before starting. This helps the charger stick well. If there are any stains, clean them too.
A clean wall ensures a strong hold. Make sure there are no oily spots. Oily spots make it hard for things to stick. A clean wall is the best start.
Decide where to place the charger. Use a pencil to mark the spot. Make sure it is at a comfortable height. It should be easy to reach.
Check that the spot is near a power outlet. This helps you plug the charger in easily. If the spot is far, you might need an extension. Having the right spot is very important.
Securing The Mounting Bracket
Choose a safe spot on the wall. Mark where you want the holes. Make sure the marks are level. Use a drill that matches the wall type. Some walls need special drills. Drill holes carefully. Keep the drill steady. Don’t drill too deep. Check the holes are clean. Use a vacuum if needed. Prepare to attach the bracket.
Place the bracket over the holes. Align it with the marks. Insert screws into the holes. Use a screwdriver or drill. Tighten screws firmly. Ensure the bracket is secure. It should not wobble. Check it supports the charger. Test it by pulling lightly. If it moves, tighten again.
Installing The Battery Charger
First, find the right spot on the wall. The charger needs to be near an outlet. Use a level tool to make sure the charger is straight. This will help it work properly. Mark the holes on the wall with a pencil. Ensure your marks are even and straight. This will make sure the charger hangs neatly.
Drill holes where you made the marks. Make sure the holes are the right size. Use the screws that came with the charger. Tighten them securely. This will keep the charger from falling. Check if the charger is firmly attached. Give it a gentle tug. Make sure it does not move. Now, plug it in and start using it.

Credit: americanadventurelab.com
Connecting The Charger To Power
Measure the cable length before mounting. Ensure it reaches the power source. Avoid cables that are too short. They can cause problems. Longer cables are better. They give more flexibility. They are easier to manage.
Safety is very important. Check the connections carefully. Make sure they are tight. Loose connections are dangerous. They can cause sparks. Sparks can lead to fires. Use insulated tools for extra safety. Insulation protects you from electric shocks. Always turn off power first. This prevents accidents.
Testing The Installation
Mounting a battery charger on the wall involves checking the installation for stability and proper alignment. Ensure the charger is securely fastened and cables are easily accessible. Test the charger by connecting a battery to verify functionality and safety.
Turning On The Charger
First, ensure the charger is plugged into the power outlet. Flip the switch to turn it on. Listen for any unusual sounds. The charger should be quiet or have a gentle hum. Check for any lights on the charger. These lights show it is working. If there are no lights, double-check the connections. Make sure wires are secure and the power is on.
Verifying Functionality
Connect a battery to the charger. Observe the charging lights. They should indicate progress. Charging lights usually blink or change color. Look at the battery gauge. It should start to move, showing the charge level. If the gauge remains still, check the battery and charger connections. Ensure they are tight and properly aligned.
Safety Tips And Best Practices
Always turn off the power before starting. This prevents electric shocks. Use a sturdy wallto mount the charger. Weak walls might break. Keep the charger away from water. Water can damage it. Use the right tools. A drill, screws, and a level are important. Make sure the charger is at the right height. Not too high or too low. This makes it easy to reach. Check the charger regularly. Look for signs of wear and tear. Replace any damaged parts quickly. Follow the manufacturer’s instructionsalways. They know best about their product. Secure the charger tightly. Loose chargers can fall. Keep the area clean. Dust can harm the charger. Wear safety gear. Gloves and goggles keep you safe.
Frequently Asked Questions
How To Mount A Battery Charger To The Wall?
Select a suitable wall location near an outlet. Use a drill to make holes for screws. Align the charger with the holes and securely fasten it. Ensure the charger is stable and level. Plug it into the outlet, ensuring the power is off during installation for safety.
Where To Attach A Battery Charger?
Attach the battery charger’s positive clamp to the battery’s positive terminal. Connect the negative clamp to the battery’s negative terminal or a metal part of the car’s frame. Ensure the charger is off before connecting. Follow the charger’s manual for specific instructions to ensure safety and efficiency.
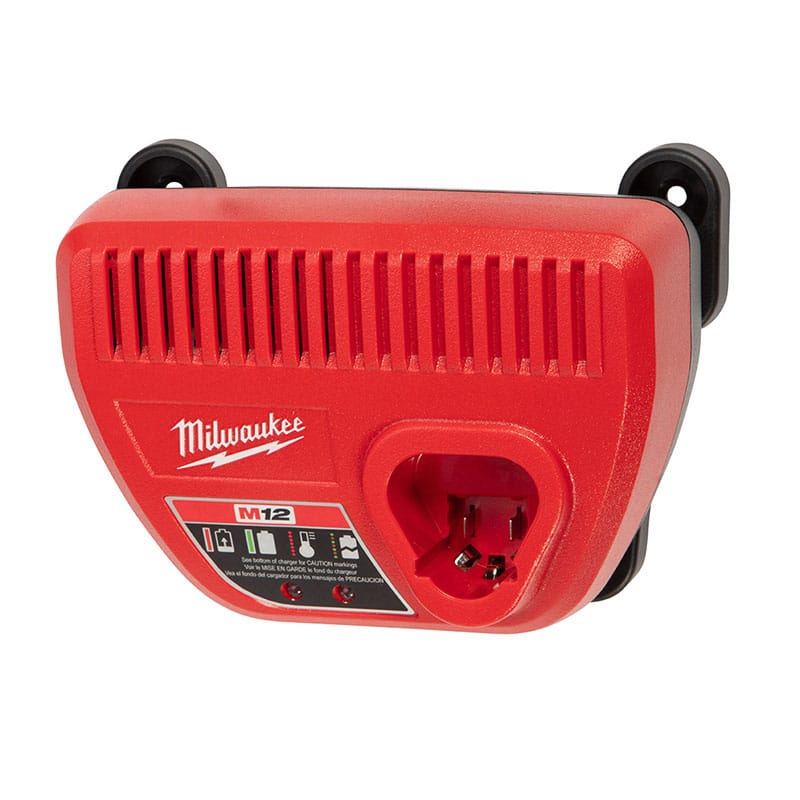
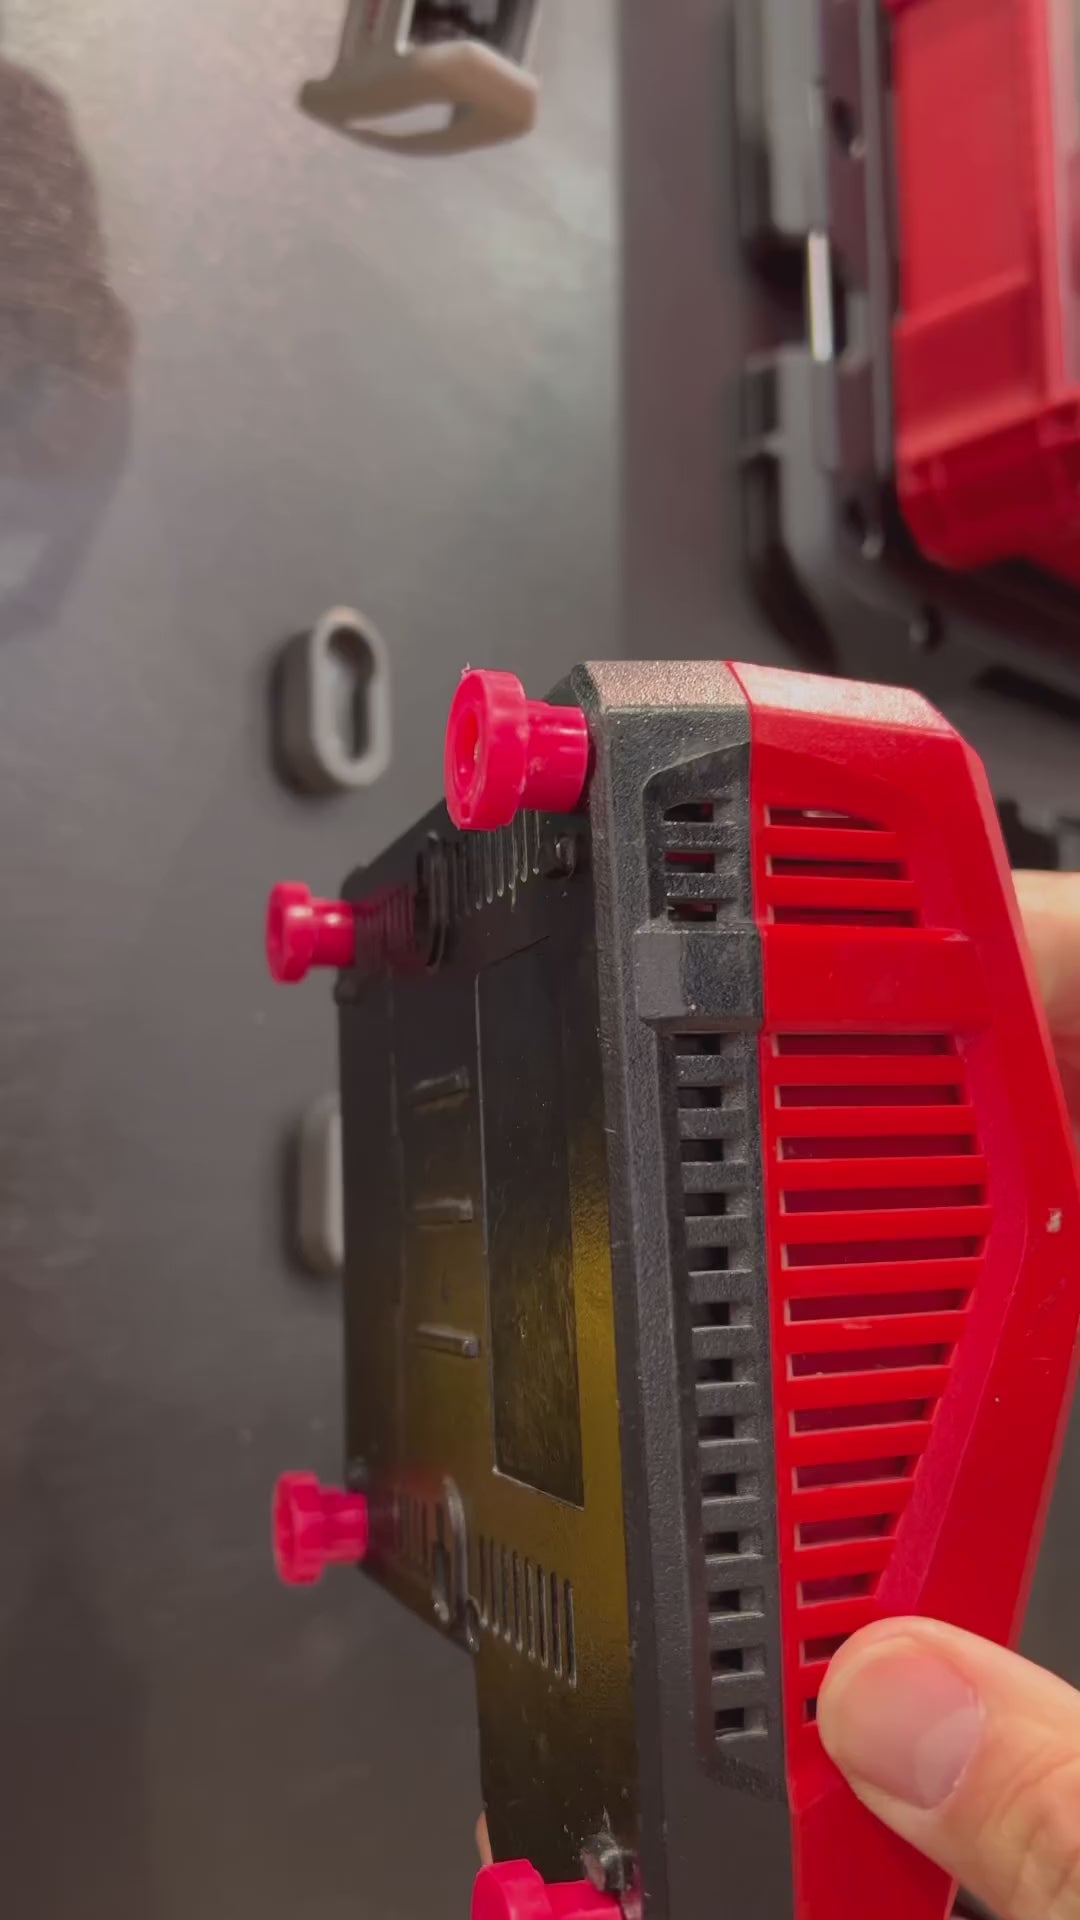
How To Wall Mount A Milwaukee Battery Charger?
Mount the Milwaukee battery charger by locating wall studs, drilling holes, and using screws to secure it. Ensure easy access and ventilation.
How To Hang An Ego Charger On A Wall?
Mount the Ego charger using the wall bracket provided. Secure it with screws into wall studs. Ensure stability. Plug the charger into a nearby outlet. Follow the manufacturer’s instructions for precise installation guidelines.
Conclusion
Mounting a battery charger on the wall offers many benefits. Saves space. Keeps your area organized. Ensures easy access for charging needs. Follow the steps carefully for a secure installation. Use proper tools and materials. Check stability after mounting. Regular maintenance keeps your charger working well.
A well-mounted charger enhances safety and efficiency. Enjoy a clutter-free environment. Make charging straightforward and hassle-free. With this setup, your charging station is ready. A simple solution for your everyday power needs. Get your charger on the wall today!
Hi I am Tamim Hasan, I am a normal person. I like to help people so I want to help you through the blog website. If anyone is benefiting through this blog website then you can help me by sharing comments.


